The search for water security in agricultural and industrial production poses a direct challenge: how to store medium and large volumes of water with viable installation costs and reliable containment? On rural properties with high daily demand—such as poultry farms, swine facilities, and irrigation systems—traditional masonry reservoirs or modular fiberglass tanks often face scale limitations or prohibitive budgets as the required volume exceeds hundreds of cubic meters.
In this scenario, geomembrane cisterns have established themselves as a highly efficient technical alternative. However, they should not be viewed simply as a ditch lined with a plastic sheet. It is a geotechnical and hydraulic project where subgrade, foundation preparation, synthetic liners, anchor trenches, and piping operate together. Understanding the fundamentals of this system is the first step toward ensuring barrier integrity and water preservation.
What characterizes a geomembrane cistern?
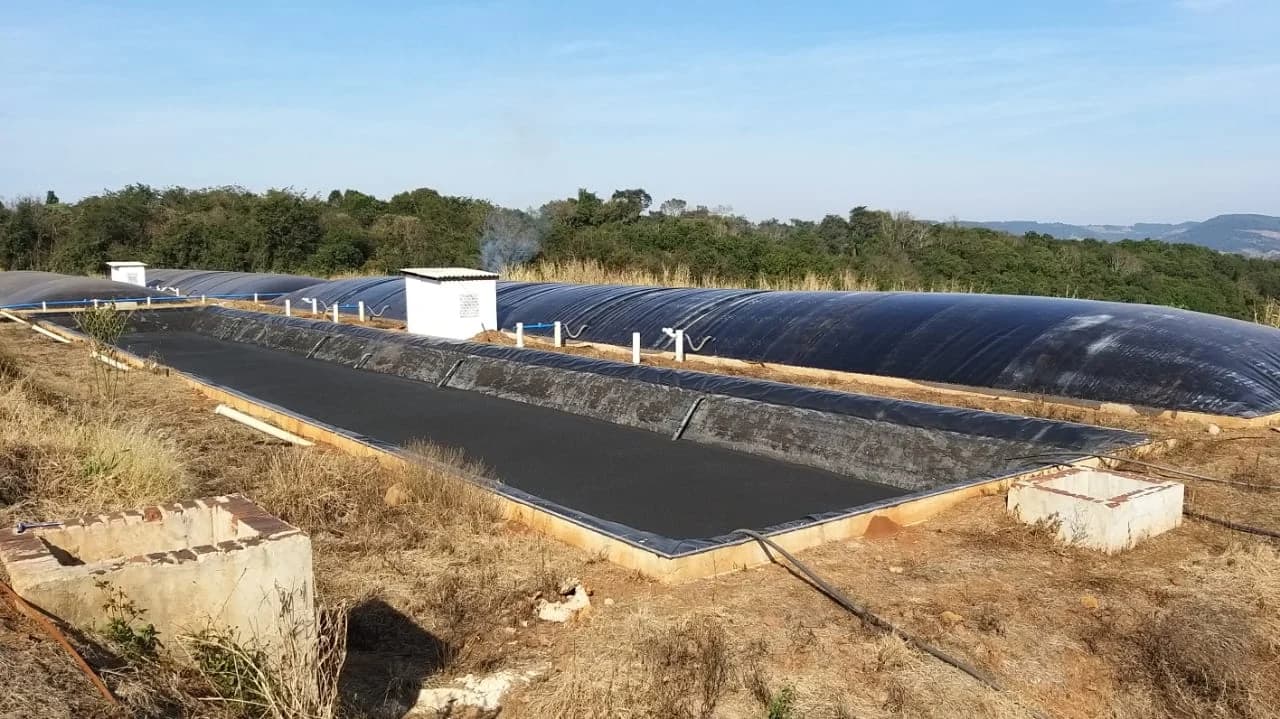
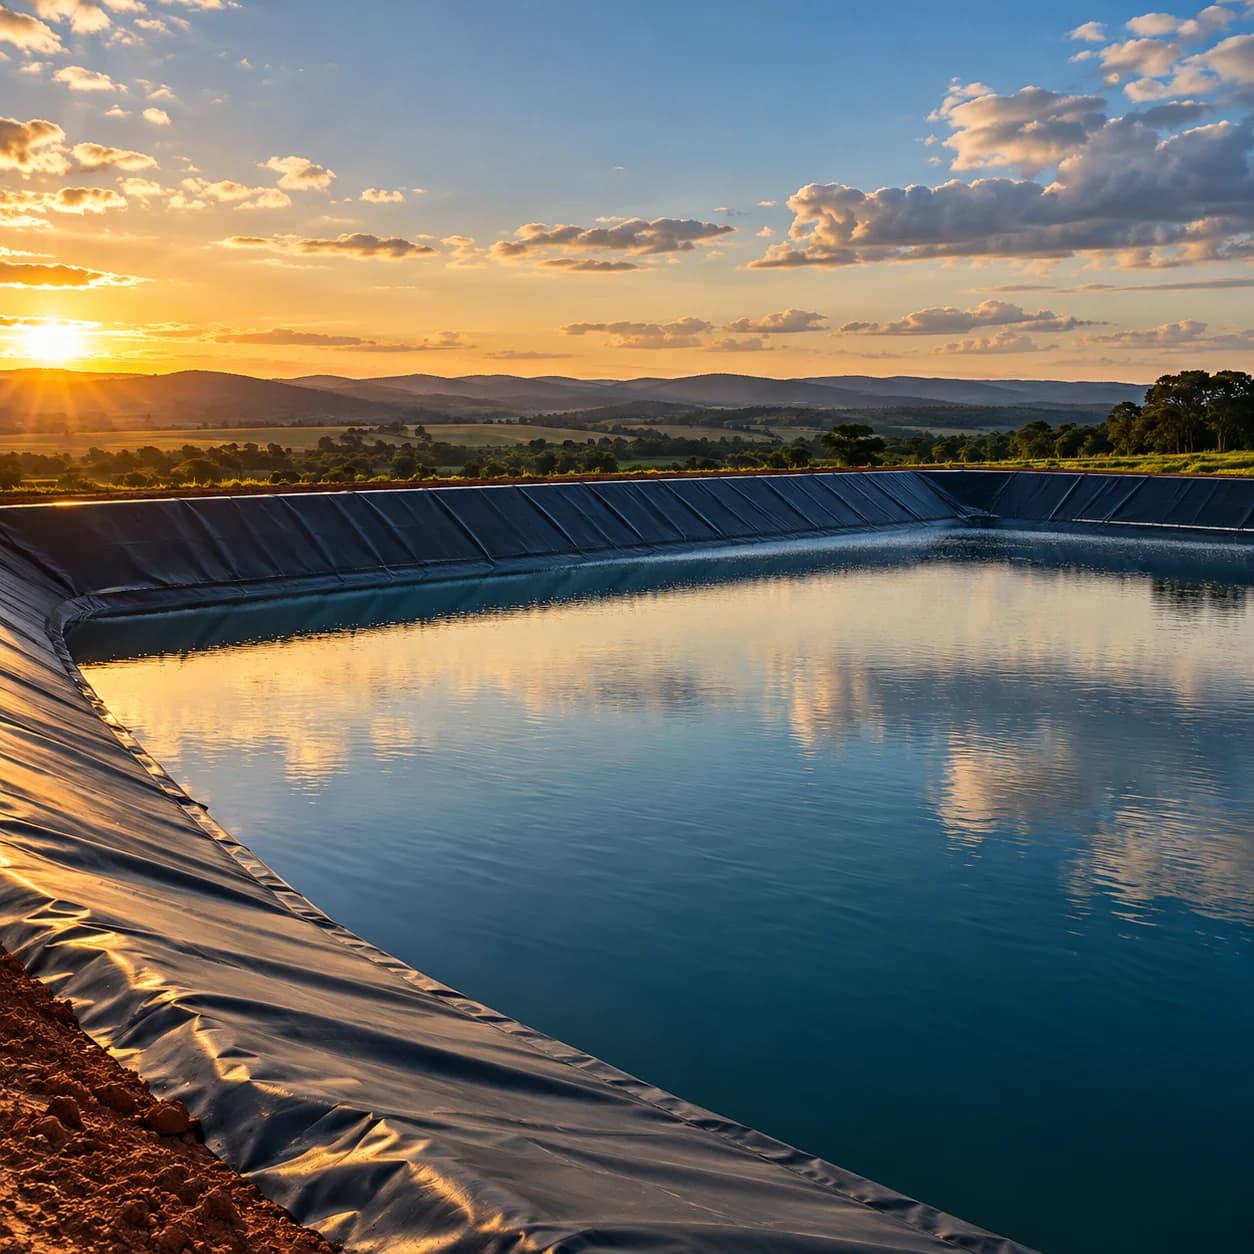
Unlike an open storage pond, a cistern is based on the enclosed confinement of the liquid to preserve the quality of the harvested water (frequently rainwater collected from roofs and sheds) and minimize evaporation losses. A structured geomembrane cistern typically consists of:
- Shaped excavation: stable slopes and a leveled base, adapted to the property's topography.
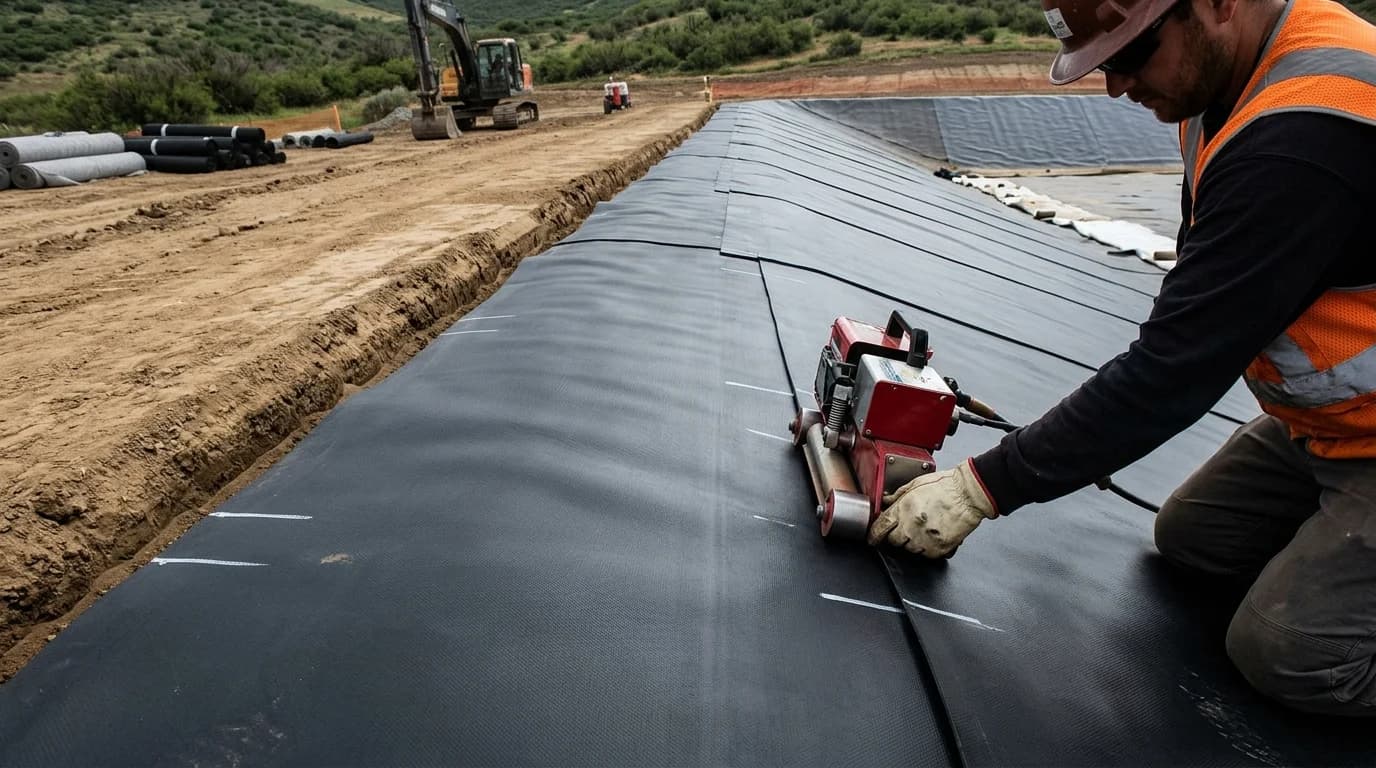
- Impermeable lining: continuous polymeric synthetic membrane (commonly high-density polyethylene—HDPE—or linear low-density polyethylene—LLDPE) thermally welded in the field.
- Bedding or protective layer: when the subgrade contains rocks or angular irregularities, a geotextile under geomembrane is used to cushion puncture stresses.
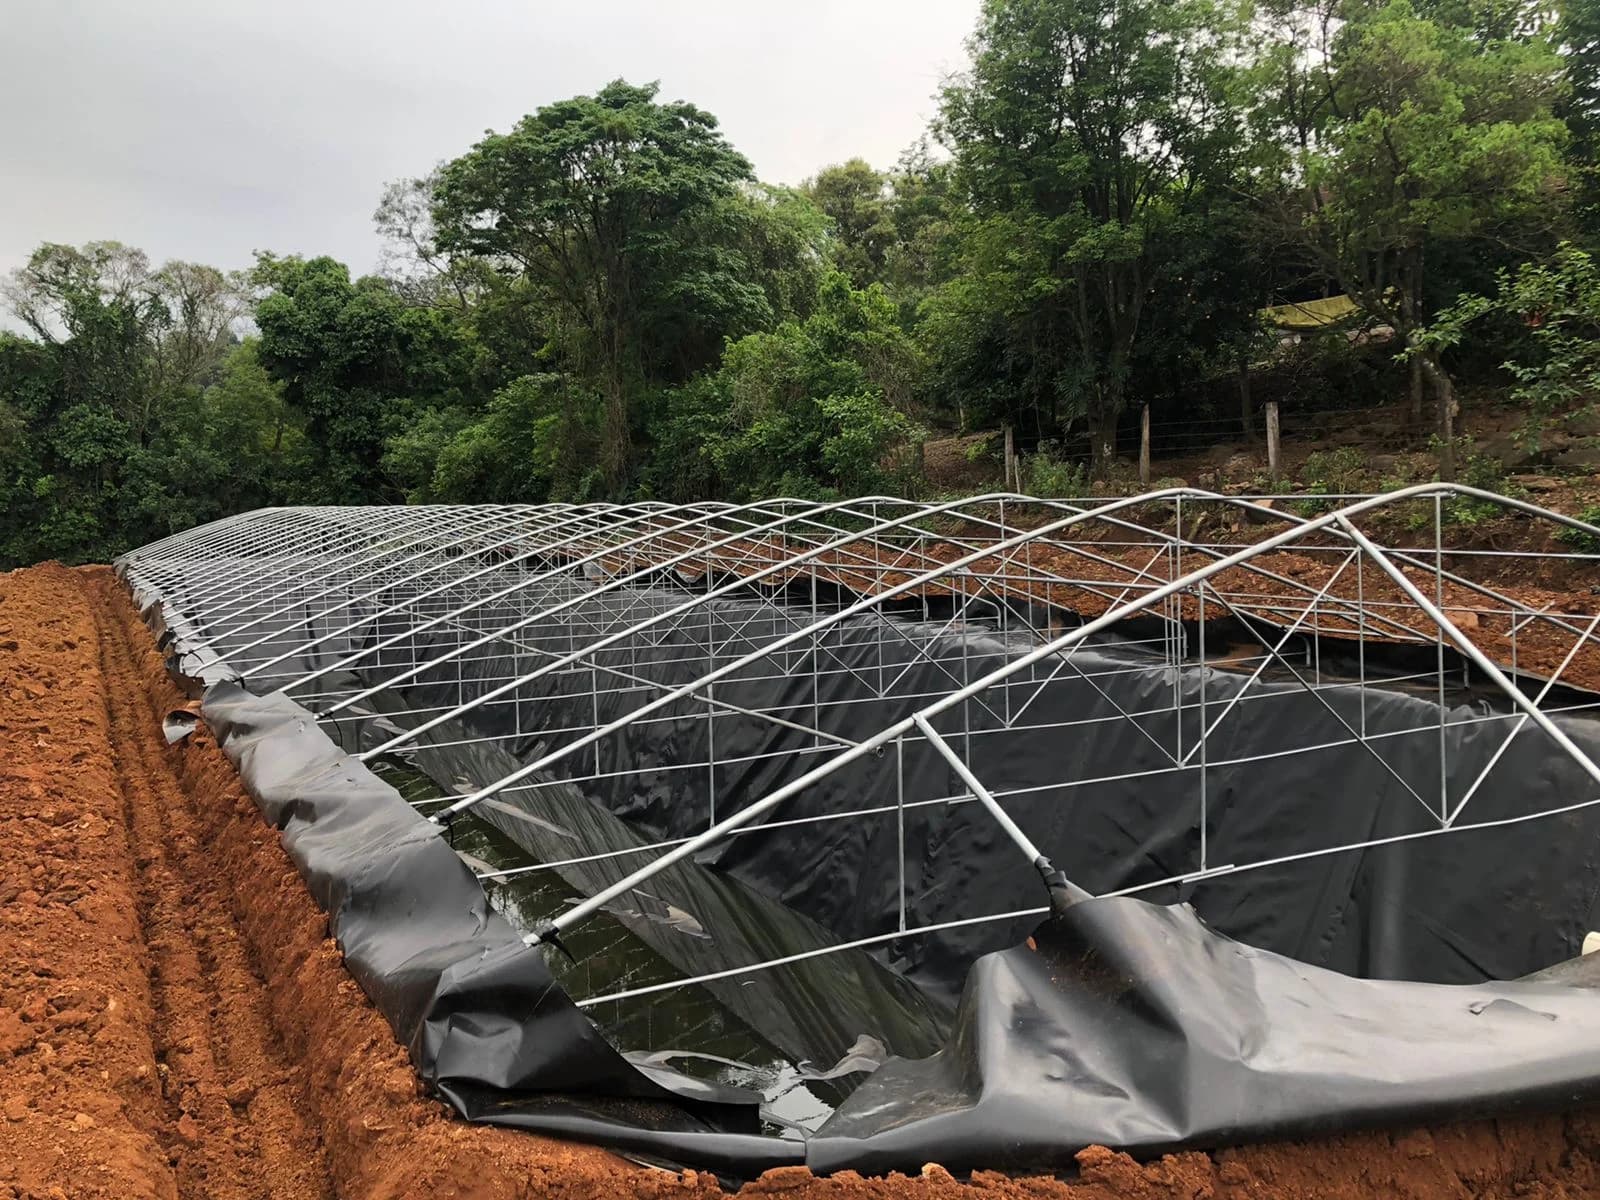
- Impermeable cover: an upper closure that blocks direct sunlight (inhibiting algae growth) and prevents contamination from dust, leaves, pesticides, and biological vectors.
- Hydraulic accessories: inlets with first-flush diverters, overflows, protected suction pipes, and operational vents.
Geomembrane cistern versus rigid reservoirs
Comparing an excavated structure lined with geomembrane to rigid tanks (reinforced masonry, concrete slabs, or fiberglass/polyethylene modules) requires evaluating volume, unit cost, and structural behavior.
| Criterion | Geomembrane cistern | Masonry or reinforced concrete | Fiberglass tanks or plastic modules |
|---|---|---|---|
| Volume scalability | High (from hundreds to thousands of m³ with low marginal cost) | Complex and costly for large volumes (>300 m³) | Limited by freight costs and module count |
| Settlement behavior | Flexible: conforms to minor soil movements without cracking | Rigid: cracks from ground settlement cause leaks | Rigid: requires perfectly level concrete foundations |
| Installation time | Fast: excavation and welding within days once the base is ready | Long: formwork, rebar, concrete curing, and chemical seal stages | Fast for small volumes, slow for complex assemblies |
| Cost per cubic meter | Decreases significantly as volume increases | High and linear per constructed cubic meter | High for storage exceeding 100 m³ |
| Critical attention | Requires qualified welding and mechanical puncture protection | Periodic surface waterproofing against cracks | Structural vulnerability to weather and stress concentrations at connections |
While a rigid tank is advantageous in areas with severe footprint constraints (by allowing vertical walls), an earthwork-lined cistern is the predominant option when land is available and there is a need to store hundreds to thousands of cubic meters with an optimal return on investment.
Critical system components
For a cistern to operate reliably for years, the engineering design must rigorously detail the construction components.
1. Base preparation (subgrade)
The durability of the liner begins with what lies beneath it. The subgrade must be graded, uniformly compacted, and completely cleared of roots, stumps, loose gravel, and sharp materials. Preparing the ground before installing the geomembrane prevents differential settlement that could overstress baseline welds after the cistern is filled.
2. Polymer selection: HDPE or LLDPE
Selecting the type of geomembrane takes into account the geometric profile of the excavation:
- HDPE (High-Density Polyethylene): features excellent chemical and mechanical resistance, being widely used in expansive floors and regular slopes with uniform inclination.
- LLDPE (Linear Low-Density Polyethylene): offers greater flexibility and elongation capacity before rupture, accommodating rounded corners, utility trenches, and more complex geometries with reduced risk of stress concentrations. Understanding the differences between HDPE and LLDPE helps designers specify the optimal durability for the excavation geometry.
3. Perimeter anchor trenches
The geomembrane cannot remain loose at the edges of the excavation. At the crest of the slopes, anchor trenches with calculated dimensions are excavated, where the edges of the bottom lining and top cover are inserted and backfilled with compacted soil. This mechanical anchoring ensures that the sheets withstand the tensile load of their own weight, moving water forces, and wind uplift on the cover.
4. Pipe penetrations and watertight flanges
Hydraulic penetration points (suction pipes, inlet lines, and bottom drains) are the most delicate nodes in the system. Routing pipes through the liner does not tolerate makeshift seals using silicone or common adhesives. The connection between the pipe wall and the geomembrane must be executed using specialized components (extrusion-welded plastic boots or mechanical flanges sealed with appropriate gaskets and uniform bolting).
Field installation stages
The final quality of a geomembrane cistern relies on a coordinated construction sequence handled by a specialized geomembrane installation crew:
- Staking and earthwork: excavating the basin with slopes adapted to the local soil geotechnical stability (typically 1:2 or 1:3 inclinations) and shaping the anchor trench.
- Subgrade approval: rigorous inspection to remove rocks and compact voids.
- Protective geotextile installation (when specified): unrolling non-woven geotextiles across the floor and side slopes.
- Geomembrane roll deployment: positioning panels according to the project's seaming plan, minimizing transverse seams on the slopes.
- Hot-wedge and extrusion welding: performing longitudinal seams with controlled temperature and pressure, reserving extrusion welding for corners, pipe penetrations, and detailing.
- Field testing: conducting non-destructive tightness tests (such as air pressure testing on dual-track seams) to verify the barrier has no defects before commissioning.
- Cover assembly: fastening and anchoring the top cover, integrating vents and air exhaust systems.
Care to preserve water and structural integrity
Building the cistern does not end water management. Maintaining a clean and long-lasting reserve requires straightforward routines:
- Initial filtration: screening leaves and branches at the gutters and diverting the first millimeters of each rain event, preventing mud accumulation on the geomembrane floor.
- Sedimentation control: even with filters, fine sediments enter the cistern. Performing preventive maintenance routines prevents buildup on the bottom; check our guidelines on how to keep cistern water clean for longer.
- Care with floating objects and tools: during inspections or cover maintenance, metallic tools or unsuitable footwear must never contact the bare geomembrane to prevent accidental punctures.
- External slope inspection: surface drainage around the cistern must divert runoff away, preventing storm runoff from eroding the edges of the anchor trench.
If any anomaly or unexplained drop in water level occurs, it is essential to understand how to locate and repair geomembrane leaks promptly, safeguarding structural safety and preventing base soil saturation.
Sizing the reservoir with clear consumption and catchment criteria ensures an investment tailored precisely to your operational needs. Before breaking ground, review the guidelines on how to size a rainwater harvesting cistern to align the design with your facility's specifics.